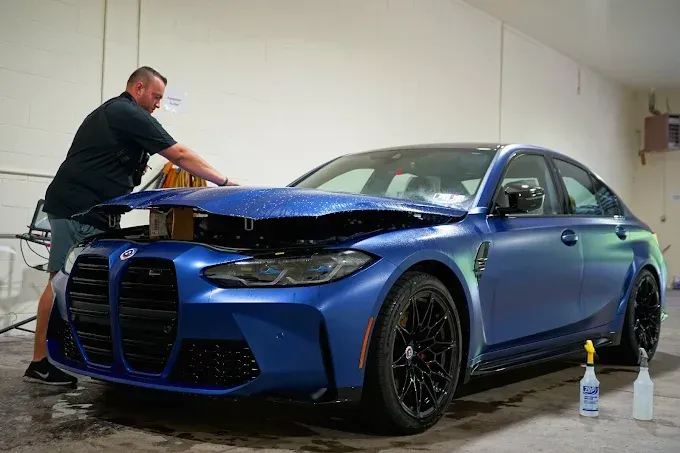
Applying paint protection film might look straightforward from the outside, but anyone who has attempted it quickly discovers otherwise. Sharp edges, tight curves, and complex body panel geometry turn what seems like a simple peel-and-stick task into a precise, skill-intensive process. Getting it right requires more than patience; it demands the right techniques, the right tools, and a thorough understanding of how film behaves under tension and heat. Here is what separates a flawless, long-lasting installation from one that wrinkles, bubbles, or peels within months.
Why Professional Installation Makes a Difference
The core challenge with paint protection film is that it must conform to surfaces that were never designed with film application in mind. Hood edges, fender lips, door curves, and bumper contours each present unique obstacles. A professional PPF installer approaches every surface as its own problem to solve, rather than applying a one-size-fits-all method.
One of the most important things professionals do differently is use precut patterns tailored to specific vehicle makes and models. These patterns are precision-cut to align with factory panel dimensions, which dramatically reduces the need for on-site trimming and minimizes the risk of uneven edges that lift or peel over time. When installers skip templates and hand-cut everything on the vehicle, the margin for error grows considerably.
Beyond patterns, professional installations rely on controlled stretching. Film stretched beyond roughly 10 to 15 percent of its original size begins to lose integrity, and the adhesive bond weakens at tension points. Too little stretch, and wrinkles form. Experienced installers find that balance through repetition and technique, not guesswork.
Tackling Sharp Edges with Precision
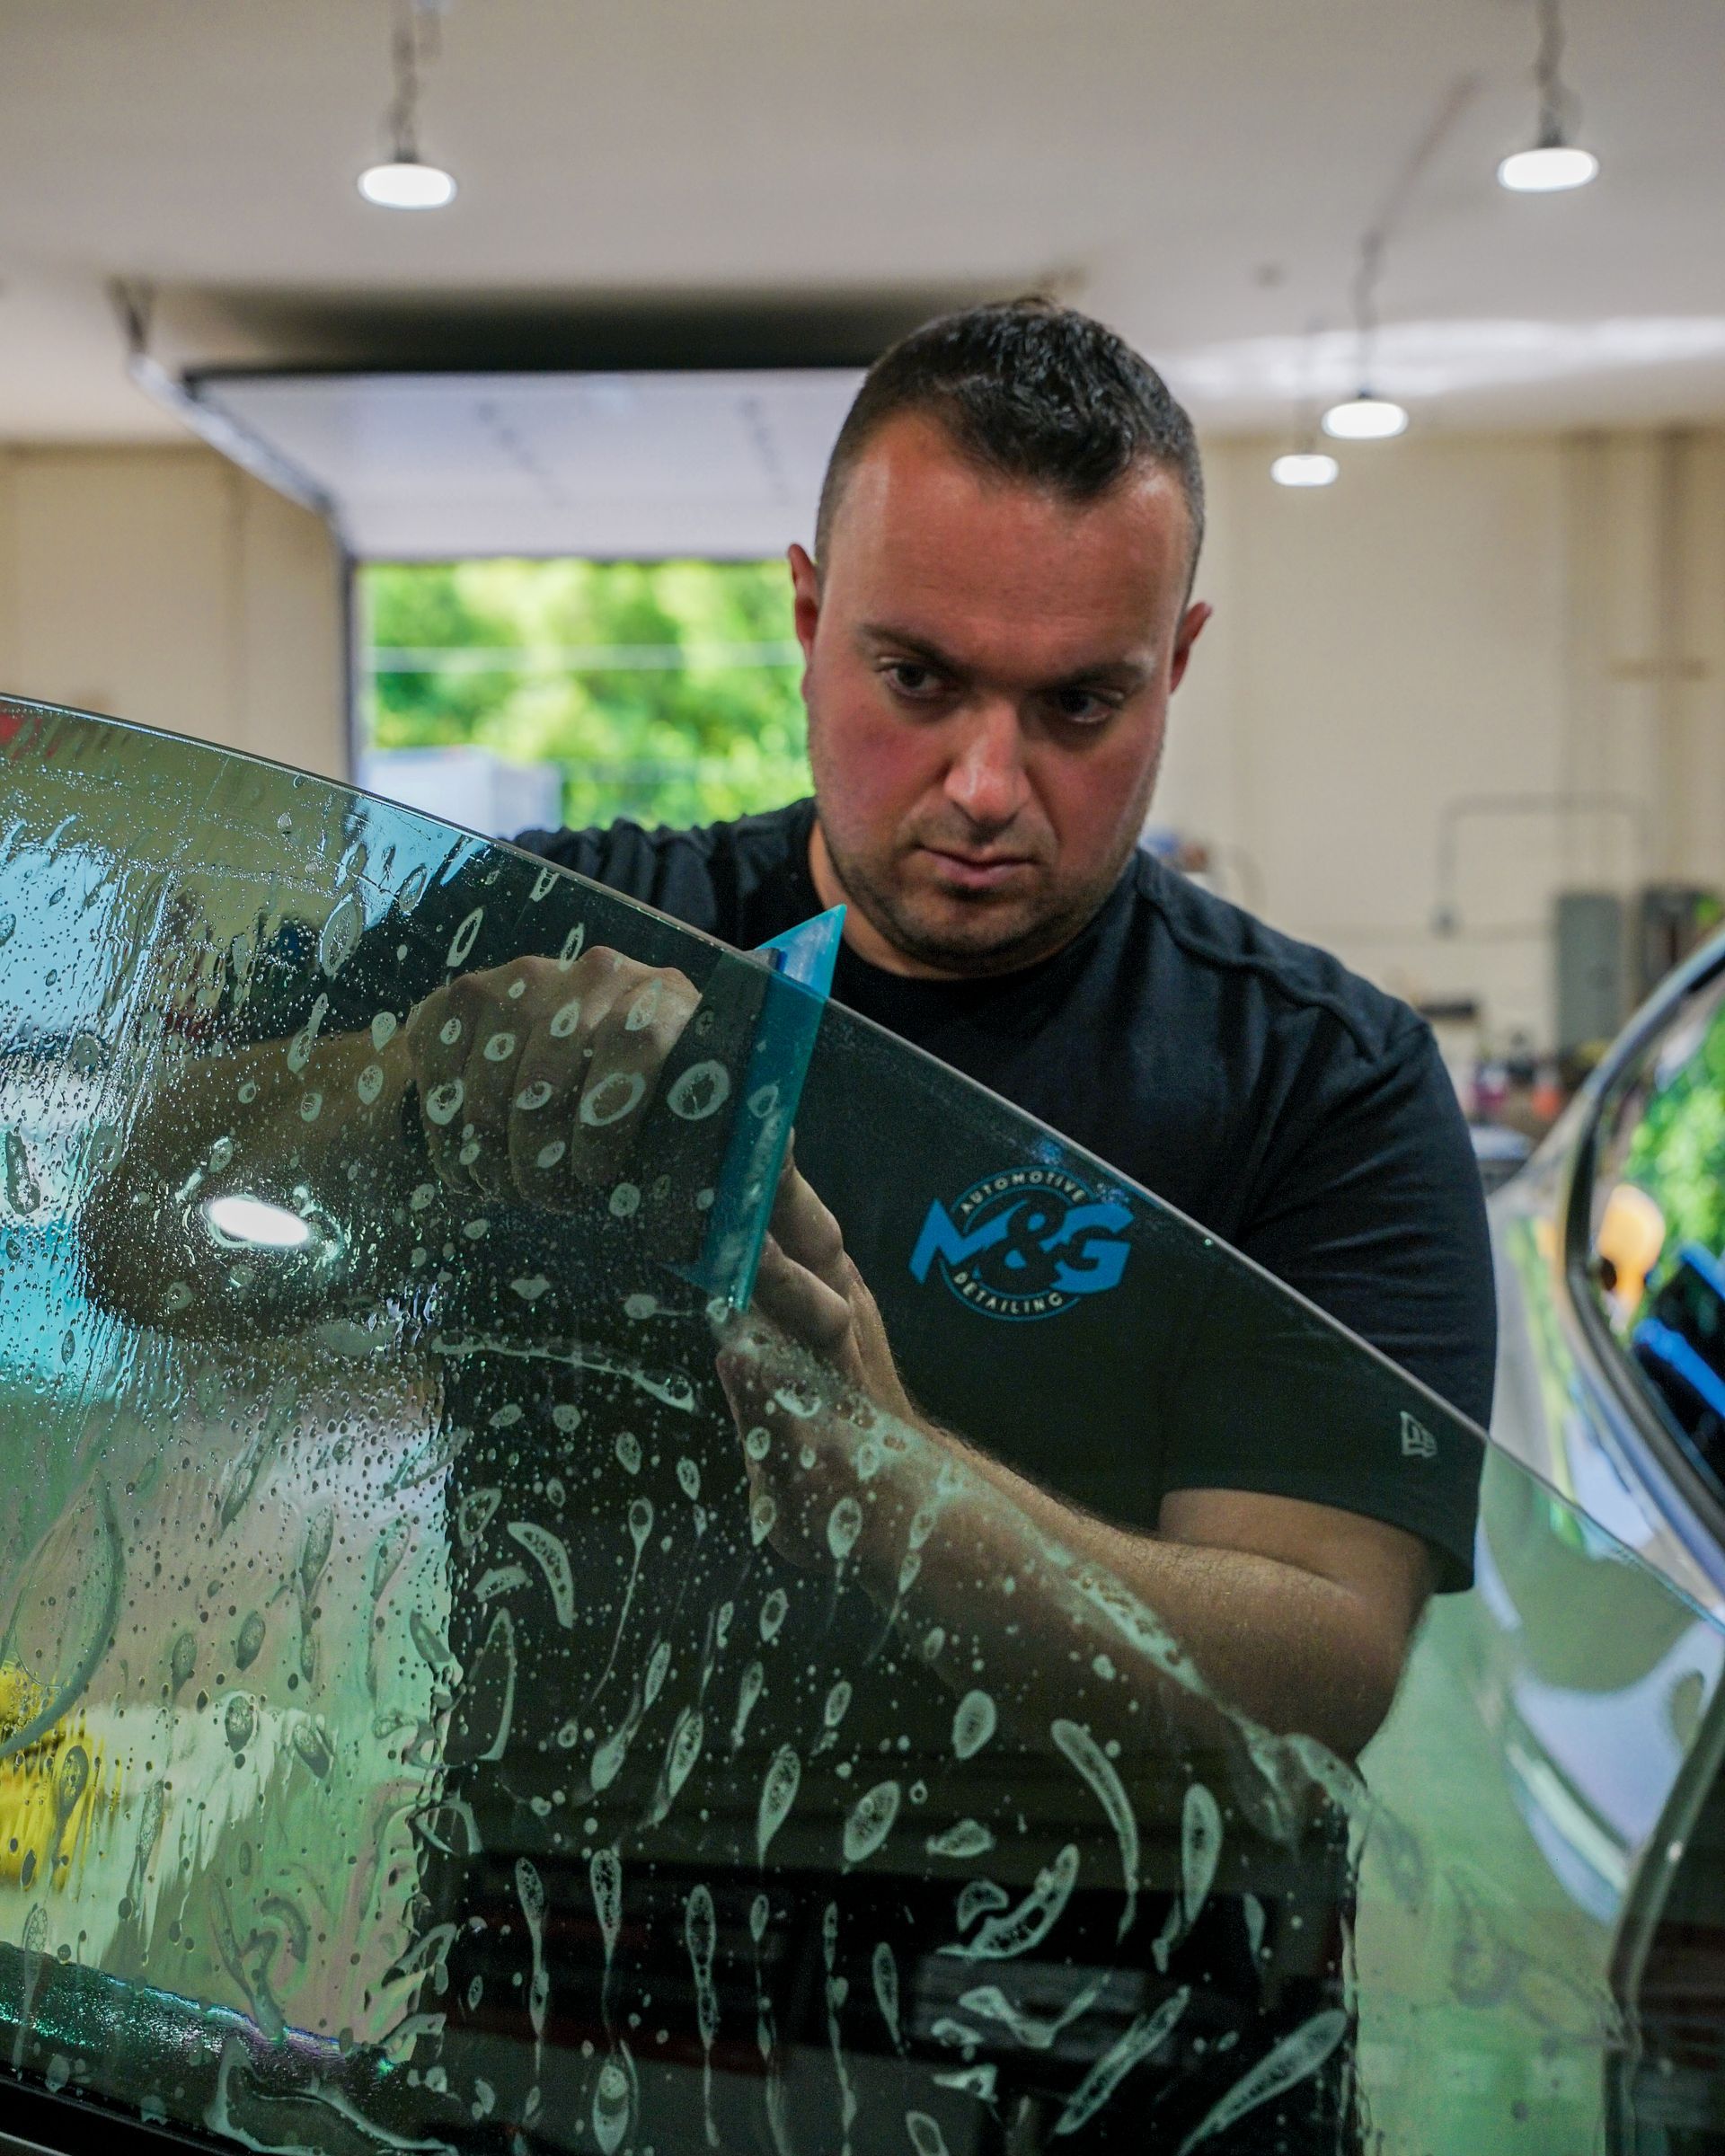
Sharp edges are where many installations fail. The film must wrap around a rigid angle and adhere cleanly on both sides without lifting, bunching, or leaving exposed overhangs that collect dirt and moisture. The technique professionals rely on most in these areas is called tack-pointing. Rather than pressing the film down all at once, installers temporarily adhere it at strategic points along the edge, then gradually work the surrounding film into position. This staged approach keeps tension even across the surface and prevents air from becoming trapped underneath.
Heat plays an equally important role. Using a heat gun set between 120 and 150 degrees Fahrenheit softens the film's molecular structure just enough to make it pliable around sharp angles without causing it to shrink or distort. The heat must be applied evenly and steadily. Too much heat in one spot can warp the film permanently; too little forces the installer to overstretch, which creates tension points that eventually lift. When wrapping film over a panel edge, professionals leave only a modest overlap of one to two millimeters underneath rather than a generous flap. A large overhang traps moisture against the adhesive, which accelerates failure. A small, clean overlap allows moisture to escape while still protecting the edge from contaminants and chips.
Working with Curved Surfaces
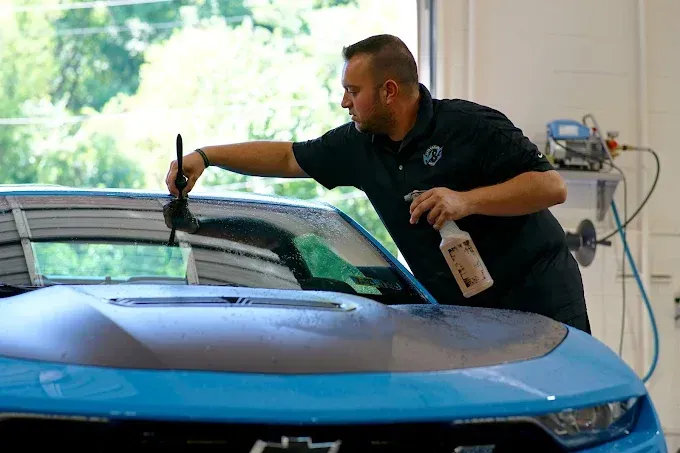
Curved panels require a slightly different approach but rely on the same core principles: controlled stretching, deliberate heat application, and the right slip solution. Before placing film on any curved surface, professionals mist the panel with a slip solution, typically a diluted mixture of mild dish soap and water. This temporarily neutralizes the adhesive's tack, giving the installer time to position and reposition the film without it bonding prematurely or leaving lift marks. Once the film is positioned correctly, squeegeeing from the center outward removes the solution and activates the bond.
On curves, installers stretch the film slightly past the apex of the curve, then tack it down at multiple points before working the remaining material into position. This incremental method prevents large wrinkles from settling in and allows for fine-tuning before the final pass with the squeegee. Trimming excess film on the underside of panels is also standard practice. Leaving a neat margin of half an inch to one inch gives the installer enough material to tuck and seal once the film is dry while avoiding the stress that hanging flaps place on the edges over time.
The Tools That Make It Possible
No technique works without the right equipment. A quality heat gun is essential for softening film around complex shapes, and it needs to deliver consistent, controlled output rather than uneven bursts of heat. Felt-edged squeegees are preferred for working near paint and tight curves because they displace air and slip solution without scratching or tearing. Standard rubber squeegees can cause micro-tears along sensitive edges.
Precision cutting knives with fine automotive blades allow for clean, accurate cuts that do not drag or tear the film. A dull blade leaves jagged edges that compromise adhesion and invite contaminant buildup. Keeping blades sharp and replacing them frequently is a small investment that has a significant impact on the final result. Slip solutions and tack solutions work in tandem throughout the process. Slip solution keeps the film mobile during placement, while tack solution is applied in areas requiring immediate adhesion, such as sharp edges or tight recesses where the film needs to hold its position before full curing begins.
Surface Preparation and Adhesive Quality
Even the most skilled installation will fail if the surface beneath the film is not properly prepared. Dust, grease, wax residue, and microscopic contaminants all interfere with adhesion, creating bubbles and weak points that worsen over time. Professional preparation starts with a thorough wash using a gentle automotive detergent, followed by an isopropyl alcohol wipe-down to remove any remaining oils or polish residue. Many installers also treat the surface with a clay bar to pull out embedded contaminants from within the clear coat's pores. This step smooths the paint's micro-texture and maximizes the contact area between the adhesive and the surface.
Environmental conditions matter as well. A surface that is too cold can prevent the adhesive from curing properly; one that is too hot can cause premature bonding before the film is positioned correctly.
Professional PPF installers work in climate-controlled environments whenever possible, which contributes significantly to consistent results. The film itself also varies in quality. Premium polyurethane films use adhesives engineered for strong peel resistance, repositionability during installation, and long-term durability against moisture, UV exposure, and temperature fluctuations. These adhesives resist the kind of edge lifting that occurs when lower-quality films are exposed to freeze-thaw cycles or high humidity over time.
Solving Common Problems Before They Start
Even experienced installers encounter challenges, and knowing how to address them quickly is part of the craft. The most common issue is the appearance of "fingers," which are small wrinkle-like lifts along the edge where the film has not fully conformed to the surface. These form when the film is not relaxed enough around a tight corner. The solution is to apply gentle heat and use a microfiber-wrapped squeegee to work the film down gradually, splitting larger folds into smaller, more manageable segments and pressing them out one at a time.
Bubbles underneath the film are another frequent concern. Air bubbles are typically addressed by slightly lifting the film edge with sufficient slip solution to release the trapped air before re-squeegeeing. Moisture bubbles, on the other hand, often resolve on their own within a few weeks as the film cures. Stubborn air pockets can be addressed with a pin puncture followed by careful squeegeeing, but this requires a light touch to avoid damaging the film. Distorted or overstretched sections on complex curves usually result from trying to cover too much area at once. Breaking the installation into smaller sections and working methodically gives the installer far more control over tension and prevents the kind of deformation that cannot be corrected once the adhesive has set.
Expert Installation Matters
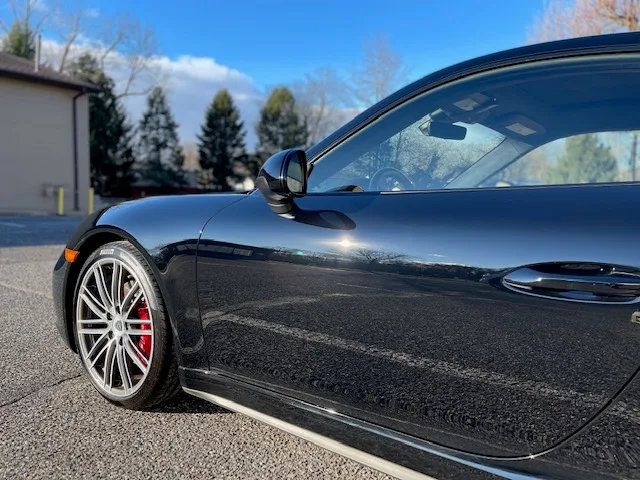
Installing paint protection film over sharp edges and curves is a craft that rewards patience, precision, and preparation. From precut patterns and tack-pointing to controlled heat application and proper surface prep, every step in the process contributes to how the finished installation looks and how long it lasts. Cutting corners at any stage tends to show up quickly, whether as bubbles, lifting edges, or wrinkles that set permanently once the adhesive cures. When done well, a professionally installed film is virtually invisible, conforms perfectly to every contour of your vehicle, and provides lasting protection that preserves both the paint and the vehicle's overall value.
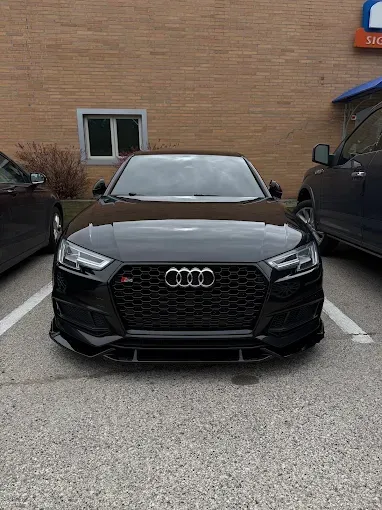
Expert PPF Installation in Voorhees, NJ
Complex body lines deserve expert handling. M&G Automotive Detailing offers
top paint protection film services in Voorhees, NJ, using advanced tools and proven installation methods to ensure sharp edges and curved panels are wrapped with accuracy. Their process focuses on durability, clean edges, and a virtually invisible finish that maintains your vehicle’s original styling.
Book your paint protection film appointment today and experience professional-grade protection built to last!